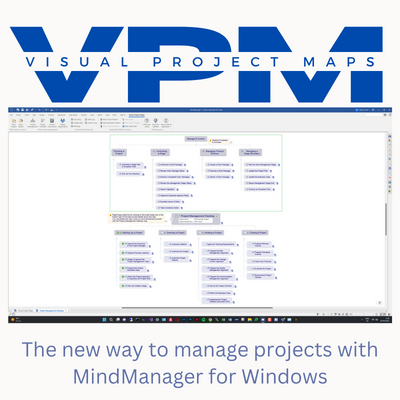
Installing Visual Project Maps for MindManager
Detailed instructions that help you get the correct version of Visual Project Maps installed for your version MindManager!
Installing Visual Project Maps
There are several editions of Visual Project Maps you can install. This guide covers the install process for the VPM Demo, VPM Standard and VPM Pro editions.
Step One: Download and Install App studio
NOTE: You can skip this step if you are using MindManager 2024!
You can find detailed instructions for selecting and installing App Studio on the Install App Studio page. Carry out this step first.
Step Two: Download Visual Project Maps
Once you have App Studio installed you can download the Visual Project Maps installer using the links below. The Visual Project Maps Demo is restricted version which allows you to work with an included example project and several of the Visual Project Maps interface features. The following features are available in the demo.

The Visual Project Maps Standard Edition installs the full solution for personal use. The Visual Project Maps Pro Edition include the Visual Project Maps App Studio Configuration file that enables you to customise the Visual Projects Maps menus.
The Standard and Pro editions of Visual Project Maps require a licence for full access. Licences can be purchased here.
Step Three: Extract the Visual Project Maps Installer Map
Once you have downloaded the edition you require, you will need to extract the Visual Project Maps Installer map. This will require the following password: “VPM”.
Extract the installer map to your Desktop or other chosen location ready to use with App Studio.
Step Four: Install Visual Project Maps
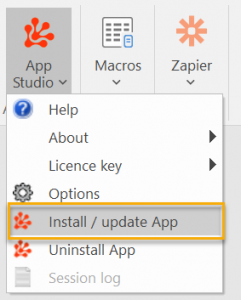
In MindManager, either select File->Open and navigate to the downloaded file or select the Install / update app menu command on the App Studio button located in the Advanced Ribbon Tab in MindManager.
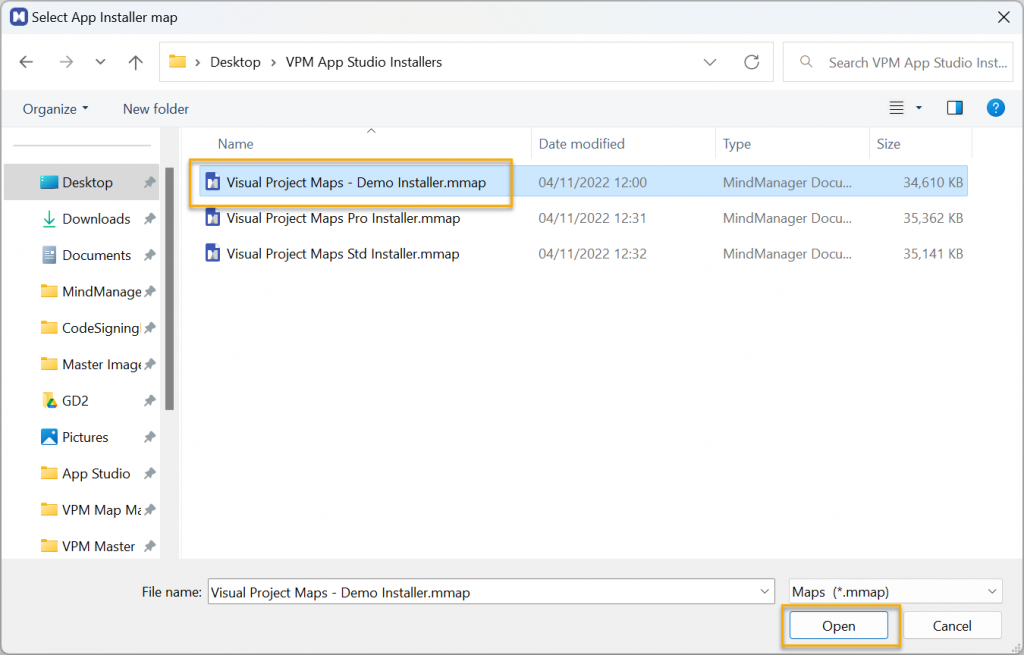
Navigate to the Visual Project Maps Installer Map you extracted in the previous step and click “Open” when you have selected it from the dialog.
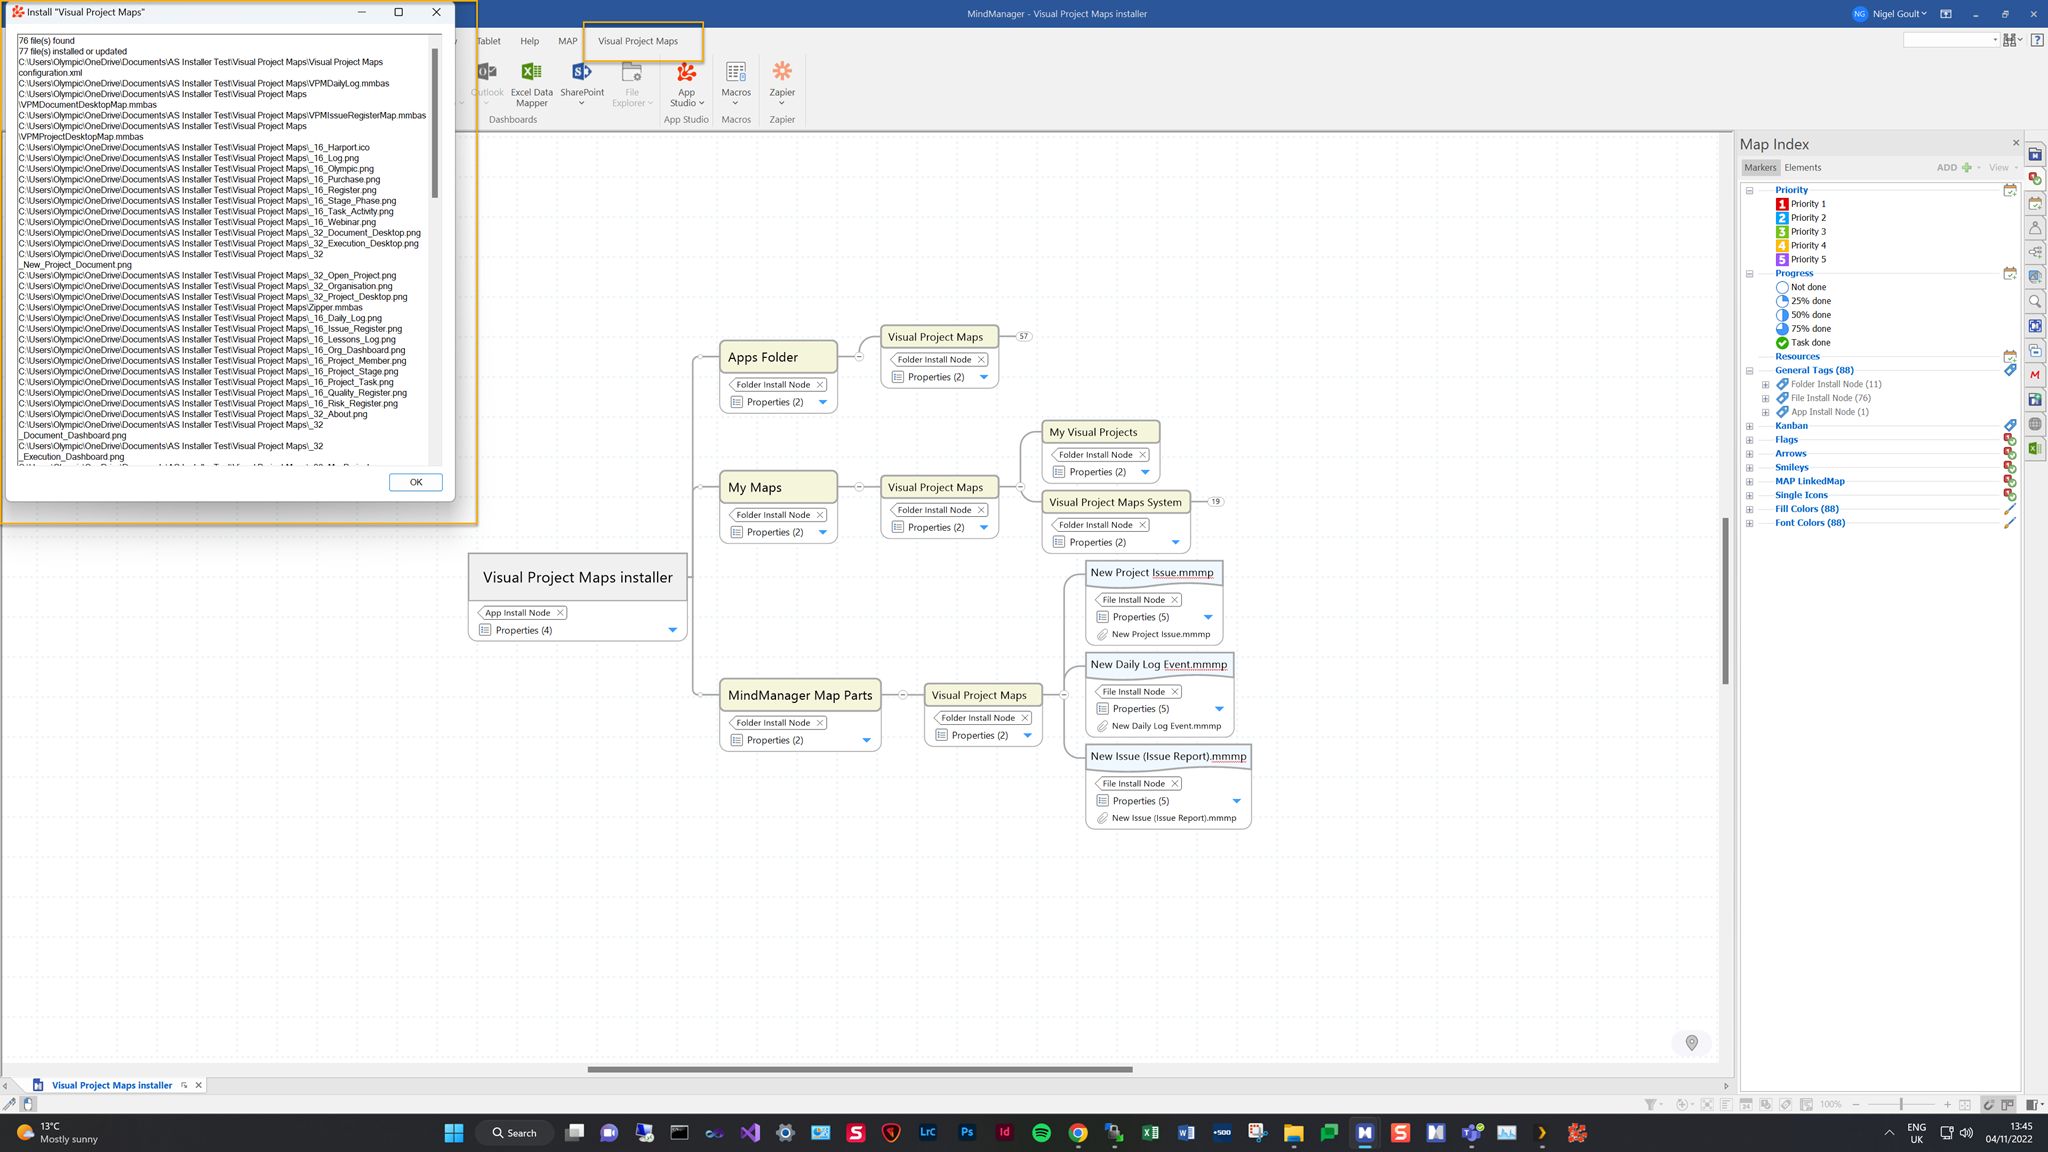
Once activated, MindManager will open the Visual Project Maps Installer Map and prompt you to install.
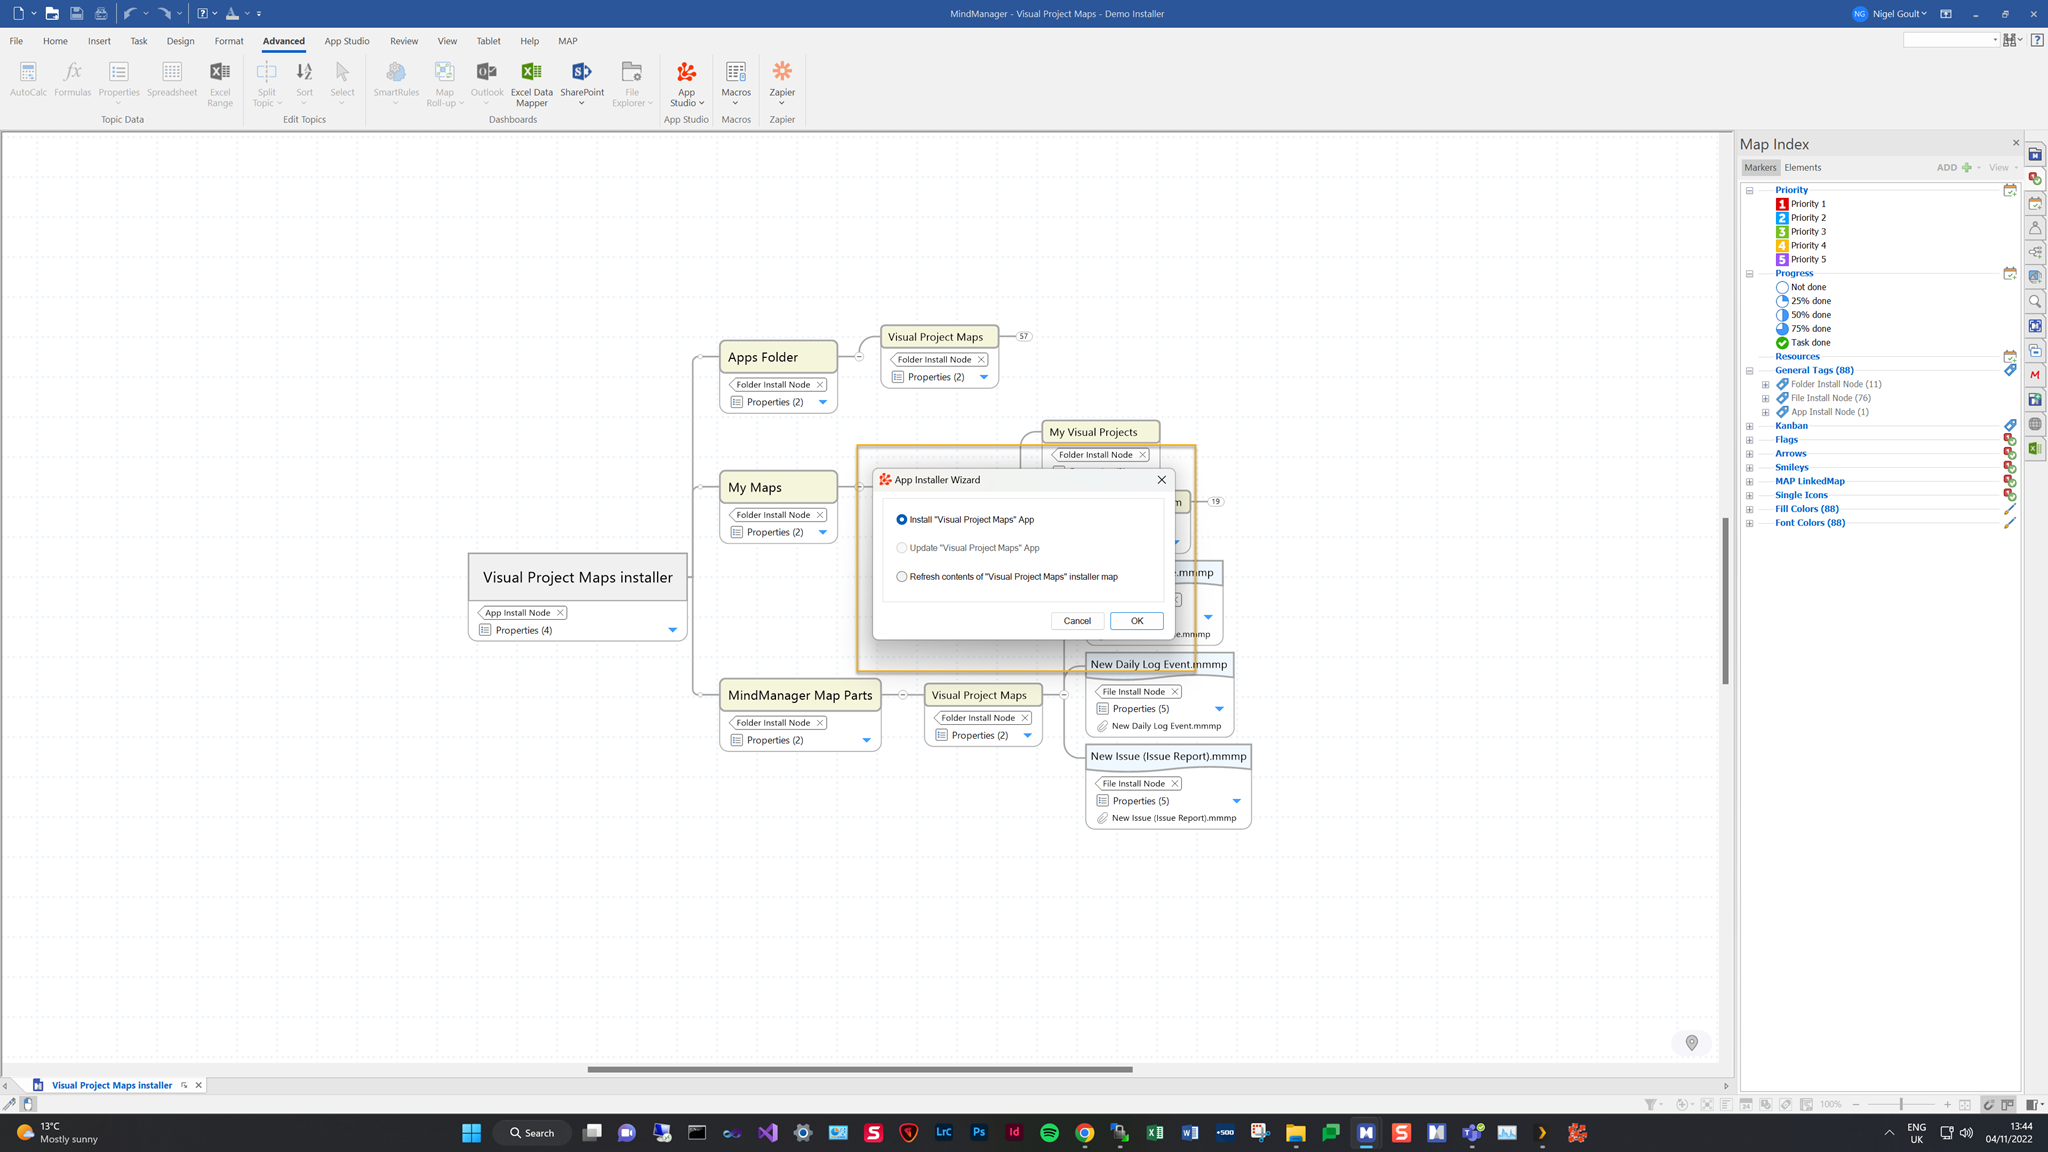
Click the “OK” button to have App Studio run the installation.
Once App Studio has completed the install you will see the Visual Project Maps Ribbon Menu Tab appear in MindManager. You will also see the App Studio confirmation that the app files have been installed.
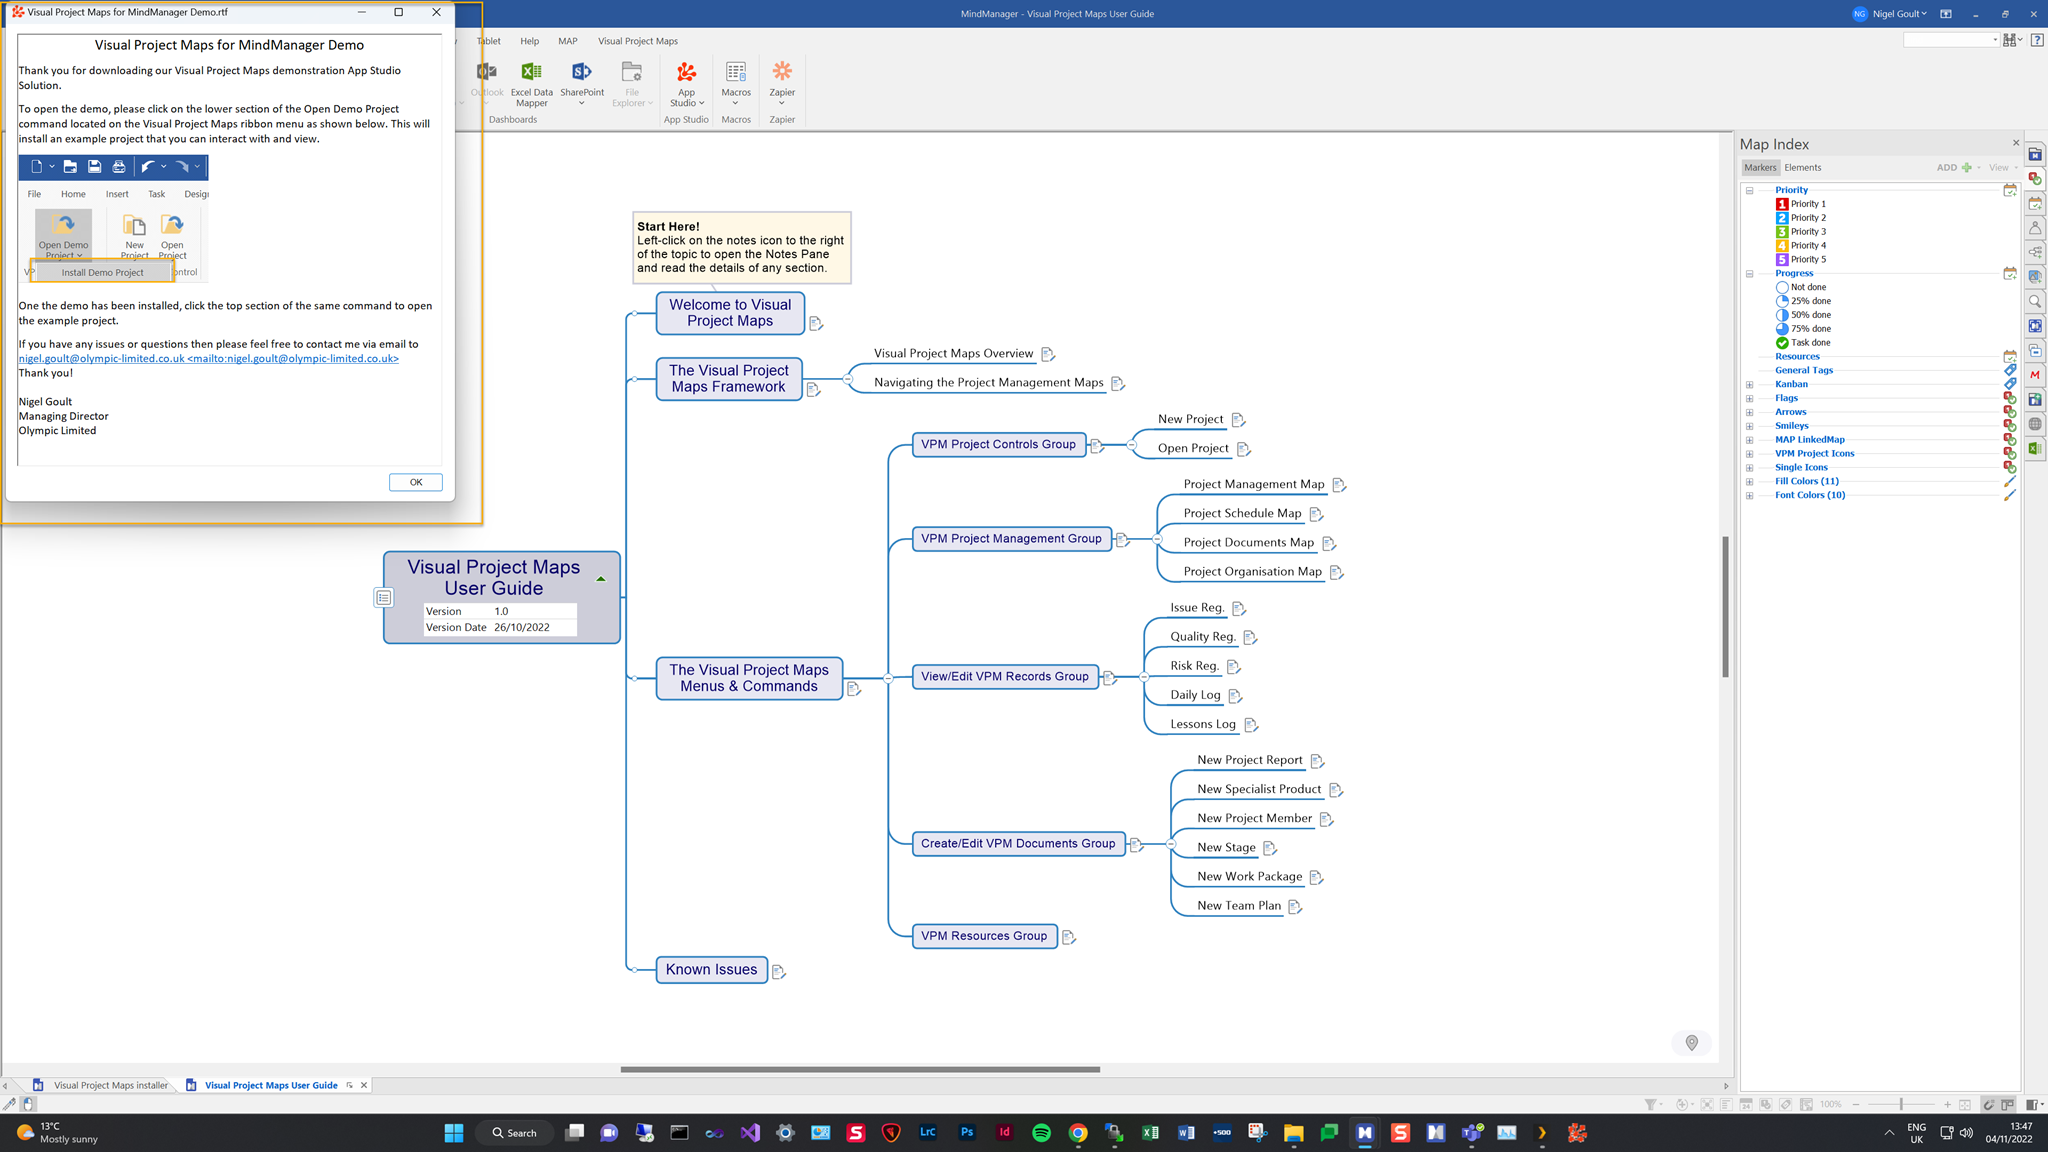
Click the “OK” button from the App Studio Installation dialog and Visual Project Maps will open the Visual Project Maps User Guide for you to view. If you have installed the Visual Project Maps Demo you will also see a dialog explaining how to extract and open an example project for you to work with during the demo.
If you have installed either Visual Project Maps Standard/Pro you will have a complete install with all files and supporting maps.
Step Five: Enjoy Visual Project Maps
You are now set to use Visual Project Maps as a free demo or with the added features provided by your purchased Std/Pro licence key.
We would recommend you read through the provided user guide to learn how Visual Project Maps works and how to access each of its features. This guide can always be viewed from the Visual Project Maps Resources Tab on the Visual Project Maps menu.