Mindjet MindManager Mind Maps make great visual representations of your connected thoughts and reasoning and can also be used to map out complex issues and processes. Taking those maps to another medium for more generic consumption usually follows at some point and this post shows you how to get your best maps into Microsoft Word in 12 easy steps.
But hold on just a second!
Before you start make sure you download our latest Mindjet MindManager add-in, WordX, which we will use to get started producing great looking Word documents. You can download WordX for MindManager 2012/Mindjet 11 and MindManager 14 from our Downloads section.
Once installed lets get started!
Step 1. – Apply a Template to your Map
Select a Microsoft Word Template by clicking the Manage command.

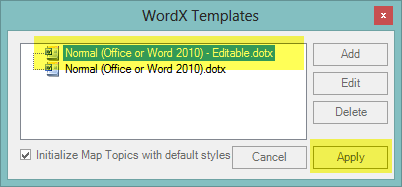
Step 2. – Select a Template you wish to use from the list and click the Apply button.

Step 3. – Wait until you see that the process of applying the Template has completed and then click the Close button.

Step 4. – You will now see the WordX icons located on each of the Topics that are “tagged” with WordX information.

Step 5. – Select each Topic and apply the Styles and Attributes as shown.

Do this for each Topic.
Step 6. – Set the Map level options. These include a Title page, a Table of Contents page and a Map Image.

Step 7. – If you wish to you can validate the settings by clicking the Validate command

This checks the current Map and makes sure that the currently selected Template contains all of the Styles that the Map requires.
Step 8. – Start the export

Step 9. – Choose a file name and location that WordX will use when saving the exported document and click Save.

Step 10. – Wait while the export routine creates the document.

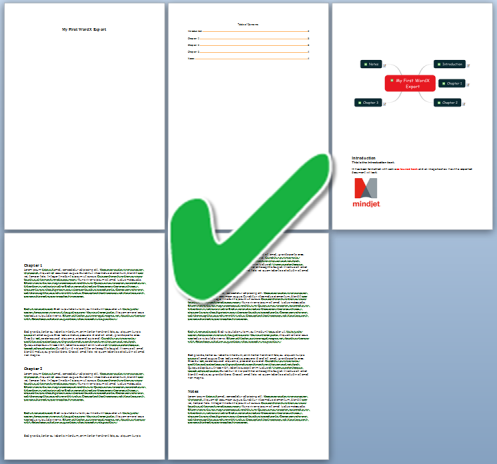
Step 11. – Click View Export to open the new Word document.

Step 12. – Sit back and admire your handy work.

WordX is available to trial free for 7 days and can be purchased from Olympic for £25 for a single user license. Users of our previous MS Word export add-in, OPTi-Word, can upgrade to WordX for £25.
